When buying a computer, one of the first things to do is to connect it to the Internet, so it's normal to wonder how i can connect to a wifi network using a command line or the taskbar? In this case we will explain it to you using Windows 10, so if you are still using an old distro, you can upgrade without losing any of your data.
Fortunately, every day more people join the world of Internet, which allows them to communicate with each other and with the world.
How to connect to a secure Wi-Fi network using the command line
As we know, in Windows there are almost always several ways to do things, which is why we can connect to a known WIFI network via the command console or CMD.
This tool has been implemented since the same operating system is installed, so you will have it yes or yes. You should also know that it doesn't matter what version of the system you have, so there won't be any problems when using it from a 32-bit or 64-bit system.

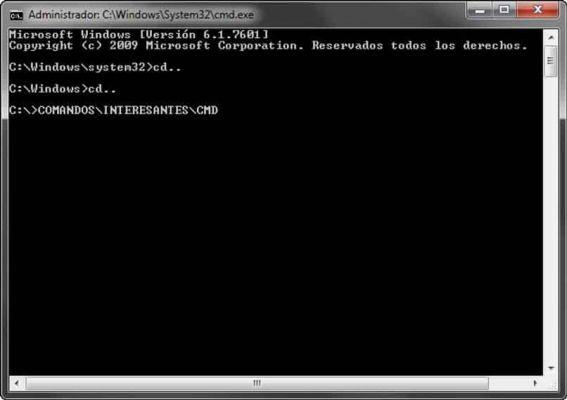
To open the console we will have to go to the beginning e write its name, an icon with the same name should appear, which we will have to click to open it.
From the console we will use a command called 'netsh', followed by the Wlan subdivision. We will have to enter these two commands side by side separated by a space, in this way we will indicate that we want to use the network card. So, we will have to indicate that we want to connect, so we will write 'connect ssid'. And finally we will have to enter the name of the network.
After that we will have to press enter and wait for the connection. If you are connecting to a network and you don't have internet access, it could be due to a network problem, in case it's your computer you can fix it quickly.
How to use CMD commands for WiFi networks?
The use of CMD commands turns out to be simpler than it looks and it is totally valid in those situations where you need to turn on WiFi if there is a problem with the computer. In this section, we show you how you can do this by enabling and disabling the network card or by releasing the IP address.
Enable and disable the network card
This option is ideal when the WiFi button does not work and an internet connection is required to work. To enable the network card, you need to open the command console and enter in it: netsh interface show interface and then press enter; When you do this, you will see a window with available network adapters, so you need to write down the adapter name that appears there.
Next, you need to activate the adapter via the following command which you will paste into a file in the system notepad: netsh interface set interface Interface_name enabled but where it says interface name, you will replace it with the name of the wireless connection you have in the house.
Now, this information needs to be saved in notepad and you need to change the extension by entering.bat for everything to take effect. In the scenario of disabling the adapter, you should do the same but in this case you will write the following command in notepad: netsh interface set interface "Wi-Fi" disabled; it is saved in the same way and with the same extension and that's it.

Release or renew the IP address
This option is ideal for breaking the connection or reestablishing it, and you need to run the following command to release the IP address: Ipconfig / relée; while if you are trying to assign a new address you will have to copy the command: Ipconfig/renew. All this, you will do it through the Run window, when you have entered the system CDM.
Ways to connect to Wi-Fi without password from the taskbar
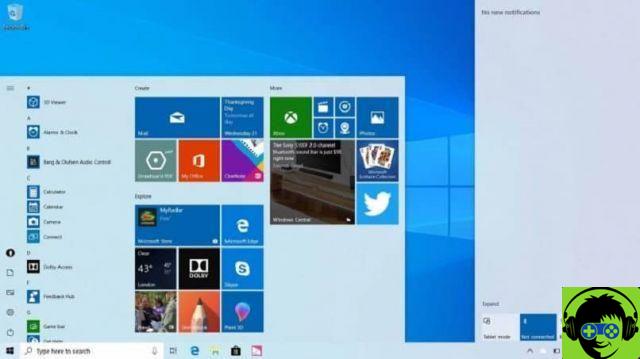
The taskbar is one of the main tools that every operating system offers us. With it we can have access to the main utilities of the system, among these is the ability to connect to a WIFI network. In the case of Windows 10 when we are not connected to any network, the icon is that of a world.
If we click on this icon we will see how a list with all the networks around our computer is displayed. In addition to some of your data such as the name of the network and the type of security it has. From this menu we have to select the one we want to connect us by left clicking on it.
With this we will notice that we get a box to connect, if we click on it, another smaller box will appear in which we will have to enter the network password. We can also select whether or not we want to always connect to this network.
Once entered the password we'll just have to give next and then accept. With this method we can connect to any adjacent network. It should be noted that if we want to save the network information, when entering the password we can take a screenshot and save it as an image.
How to pin the WiFi icon on the taskbar?
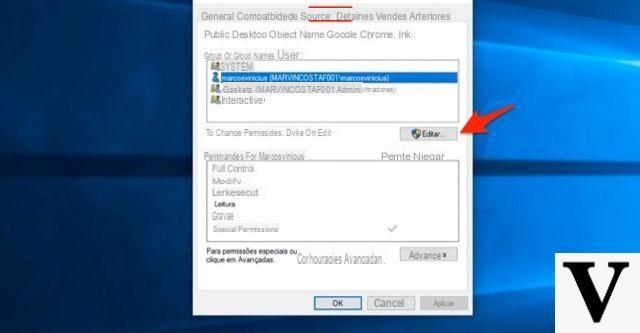
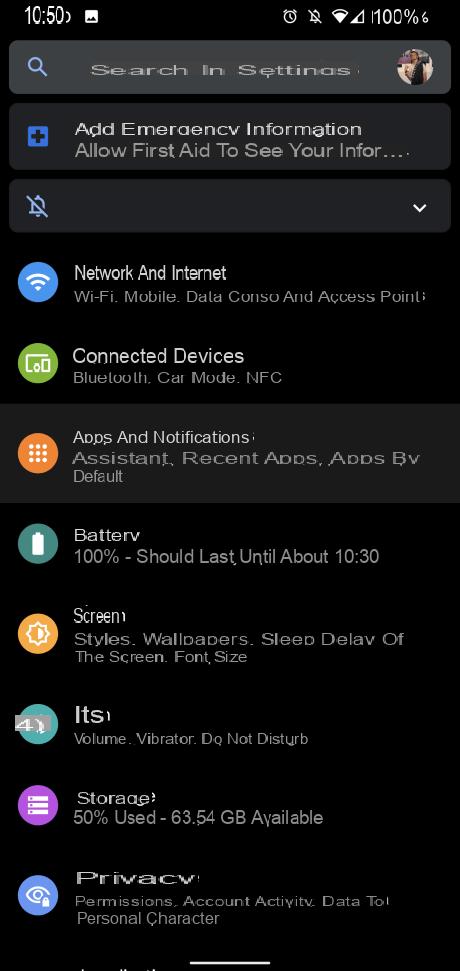
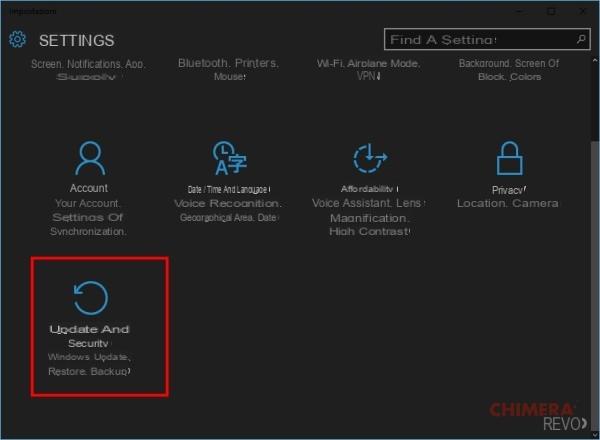
If for any reason the WiFi icon no longer appears on the taskbar, don't worry as this has a solution. So the first thing you will need to do is go to the Windows menu and look for the configuration window; from there you will see a tab that says Customize and click where it says Taskbar to configure it.
Now you need to search until you get a section that says Select the icons that will appear on the taskbar in so you can select the ones you like. You have to pay attention to what Network (WiFi) says and turn it on so that it appears in the system tray, that's all.
I don't see the WiFi icon in Windows 10 What to do?
If, despite everything, you still can't get the WiFi icon in Windows 10, you can restart the computer to update the system; this will reload all applications, including this characteristic icon of Internet connection networks.
Another recommendation we want to give you is to make sure this option is correctly activated in the system tray and if so, drag the icon upwards so that it appears first when you turn on your computer. Therefore, you prevent it from disappearing again when new WiFi connections need to be established anymore.
Finally, we want you to know despite the benefits to be connected to a WIFI network. We need to know that there are some factors to consider for our safety.
In principle, it is known that we cannot connect to any network, as it may have access to our personal information. So, if you want to connect to a public network of some establishment, it is better that you use it for your free time and not to enter your bank accounts or applications where you need to provide valuable information.
Another factor is that of passwords, if you want to connect to a WIFI, you must have your password. Since without this it will be impossible to connect, it is also not recommended to use pirated programs that promise to reveal network keys. Because most are fake or ask for your information in return.