


You are a fan of vector graphics and are acquiring more and more skills in using Adobe Illustrator, one of the most used (and most appreciated) vector graphics software by professionals and enthusiasts all over the world. However, in the course of your "experiments", you noticed that the famous Adobe program lacks a simple tool for cropping images, right?
If this is indeed the case and, therefore, you are trying to understand how to crop an image in Illustrator without resorting to external software, know that you have come to the right place at the right time! In this guide, in fact, I will explain how to crop an image in Illustrator both on the computer (using Windows or macOS) and on the iPad, where Adobe has released a very complete version of its software.
You will see that, after learning the information contained in this tutorial, you will be able to manage your images independently within Illustrator in order to optimize your creative workflow at the same time. Are you ready to start? Very well, then I wish you good reading and, above all, have fun!
Index
- Preliminary information
- How to crop an image in Illustrator for PC
- How to crop an image in Illustrator for iPad
Preliminary information
Before I illustrate you how to crop an image in Illustrator, I wanted to give you some preliminary information about it.
Well, Adobe Illustrator it was not born as a software for photo editing, so it is normal that it does not contain the same image processing tools present in programs used for this purpose, such as Adobe Photoshop.
That said, if you can't find the tool to crop images in Adobe Illustrator, stop looking because I can tell you it's not there. However, fear not: Adobe hasn't left its vector drawing software incomplete. Of course! Also in Illustrator there is a very easy way to make image cutouts and use them for photomontages or export them in PNG format.
If your PC or iPad is already equipped with Adobe Illustrator, then you are ready to start the guide; otherwise you should know that Illustrator is a paid software that requires an active subscription (monthly or yearly), however, it offers a one-week free trial, which may come in handy to try and evaluate it. To learn more, I suggest you read my article on how to download Illustrator for free. When you are ready to start, in the following chapters you will find all the details to succeed in your intent!
How to crop an image in Illustrator for PC
Let's start with the procedure to follow above PC. This method is equivalent for all versions of Illustrator, although the current version of the Creative Cloud is constantly updated with new features and tools not present in previous versions.
In short, you don't have to worry: you can follow the instructions given here with the version of Illustrator you own. Turn on your PC (Windows or Mac), start your version of Adobe Illustrator and let's see right away how to crop an image in Illustrator for PC.
First, open the image you need to crop in Illustrator through the menu File> Open, which you find at the top. To precisely delimit the cutout shape, I suggest you deselect the following items in the menu Immagine, located at the top: Snap to grid, Align to point, Align to Pixel e Snap to glyph.
Now create a new level above the image by clicking the button + located at the bottom of the card Layers. Click on the new level, to select it and be sure to work on it.
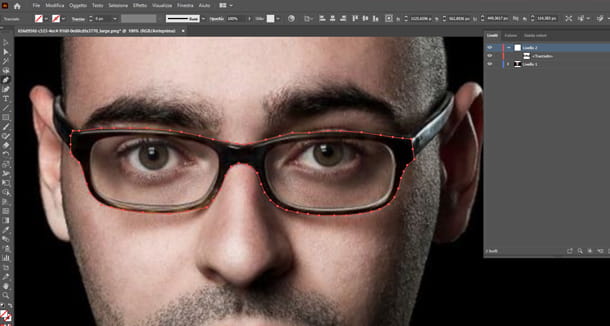
Good! Now start creating the cutout shape: then, select the tool Pen from the toolbar (or press the key P on the keyboard), then from the box Color picker tax No filling (key ò on the keyboard).
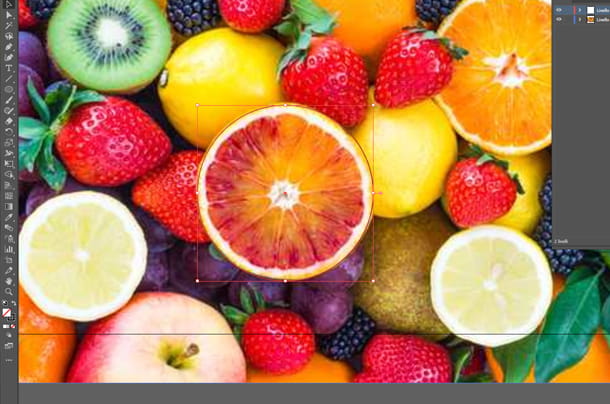
Then choose the point where you want to start outlining your cutout shape, with one click; then move the cursor and continue clicking at a distance of a few pixels along all the contour of the cutout shape, until you reach the starting point on which, if you pause above, you will notice the item Anchoring. Click for close the cutout shape.
We are almost there. Choose it Selection tool from the toolbar (or press the key V on the keyboard), then click on the menu item Select> All. Now click on the menu Object> Clipping Mask> Create (or click the right key mouse anywhere in the Drawing board and choose the item Create Clipping Mask from the context menu).
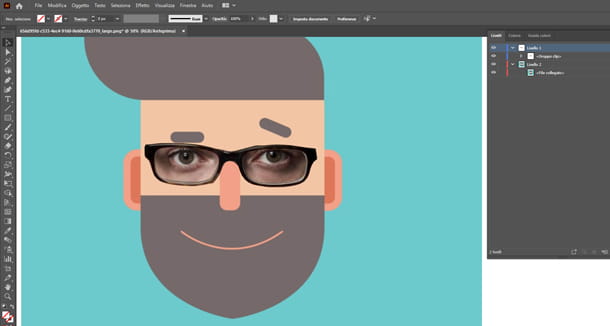
Perfect, you've got your image cropping! If you want, you can move and resize it at will, then you can export it, for example in PNG format, by going to the menu File> Export> Export As. In the dialog box that opens, choose the format of your interest (eg. PNG) found in the drop-down menu next to the item Save eat e dai confirms.
The cropped image will reflect all the transparency (alpha) characteristics and you can use it to make overlays, photo retouching, collages and more on both Illustrator and any other digital graphics software that can open a PNG file. To get some ideas about it, I suggest my tutorial on how to blend two images with Photoshop.
How to crop round image in Illustrator

If you don't want to manually define the contour of a perfectly spherical shape then you shouldn't use the Pen tool, because the clipping circumference would risk becoming a nice polygon. So in this chapter I will explain to you how to crop round image on Illustrator in a few simple steps.
The concept is very similar to that described in the previous chapter, therefore, start Illustration, then open the image which contains the round element (or round elements) to be cut out and creates a new level above it. Remember to select the level just created, in order to work inside it.
Now select it Ellipse tool from the toolbar (or press the key L on the keyboard), then choose No filling from Color picker. While holding down the mouse click, define a hoops as big as the image you want to crop, position and resize it as you like until it seems to coincide as precisely as possible with the image you want to crop.
When you have placed the ellipse on top of the round image, select it Selection tool, then click the menu Select> All and then on the menu Object> Clipping Mask> Create (or right click anywhere on the Drawing board and choose the item Create Clipping Mask from the context menu).
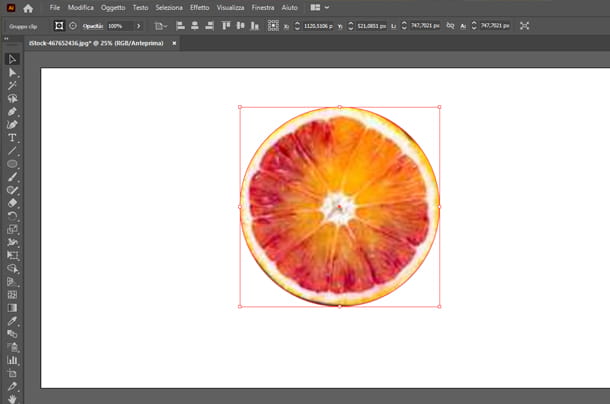
Done! You've got a perfectly round cutout of your image. If you want to export it in a format like PNG, go to the menu File> Export> Export As and, in the dialog box that opens, choose the format you want (eg. PNG) next to the item Save eat, to then confirm.
I remind you that the PNG file preserves all the transparency characteristics (alpha) in the background and that you can use it for photomontages, compositions and overlays with any software that can handle a PNG file.
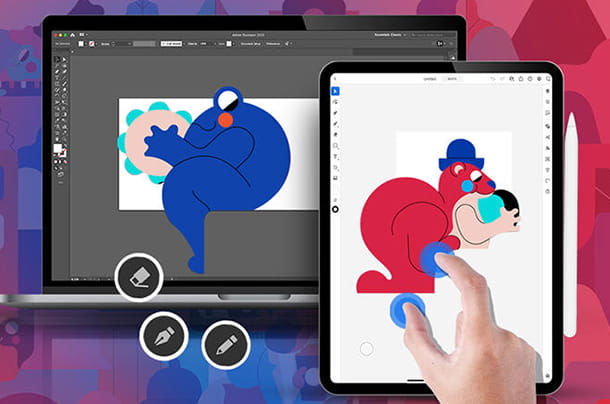
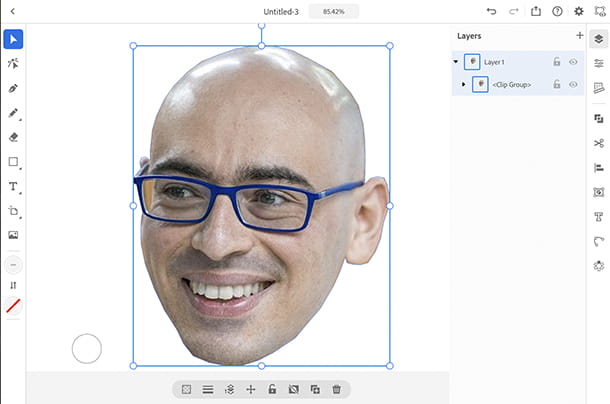
How to crop an image in Illustrator for iPad
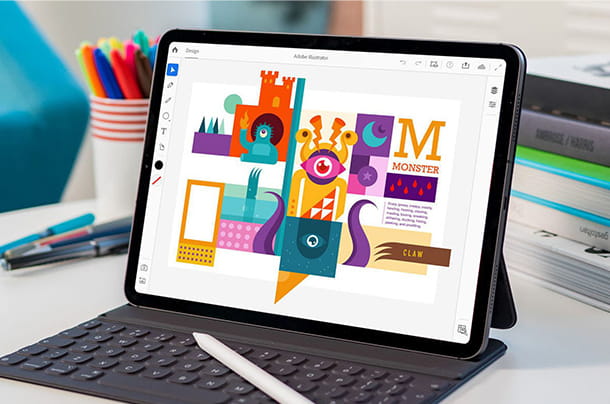
If you are working in total mobility, between one trip and another and you want to know how to crop an image in Illustrator for iPad, I'll explain it to you right away in this chapter.
The following indications refer only to Illustrator for iPad, which is an almost complete version of Illustrator available only on the Apple tablet, and for the moment only in English (to use it you need to have an active Creative Cloud subscription).
To begin with, start therefore Illustrator for iPad, choose the format of the Artboard you prefer, by tapping the button Create new located in the lower left corner. Now you can import your image to crop by tapping thephotography icon in the toolbar on the left side of the screen.
Then choose the item Photos (Photo), if you want to access the iPad Gallery, or the voice Bedroom, if you need to take a new photo to crop.
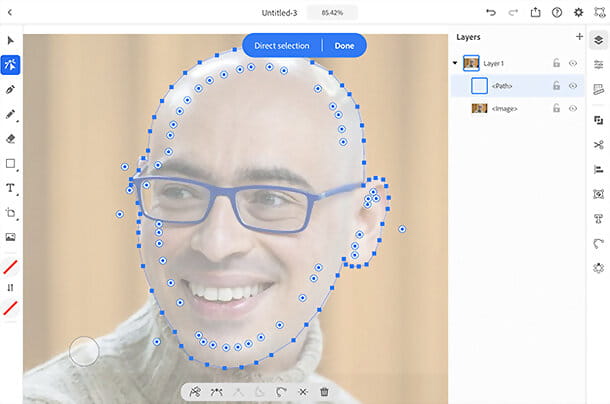
Good! Now select it Pen tool from the toolbar located on the left side of the screen and you can start drawing the outline of your clipping mask right above the image, making a tap after the other at a distance of a few pixels, in order to be as precise as possible. Finally, to close the selection to be cropped and make it usable for the purpose, tap on first point created.
We're almost there: now choose it Selection Tool (the one with the full arrow icon) located in the toolbar on the left side of the screen, then tap once on the container level o parent level (i.e. the one that contains both the image and the path). Finally, tap the icon Object on the toolbar located on the right side of the screen and choose the item Make clipping mask And that's it.
To export your new cutout and use it in other digital graphics apps, just tap the icon Publish and export located in the upper right corner of the screen, then choose the items Quick export as PNG e Save Image, to save the PNG file in the iPad Gallery.


