You are building a new project with Photoshop and it's time to add some writing to the photo you are retouching. However, you would not want to use the fonts currently available in the program because they are too “common” for your taste. I don't see what the problem is: download fonts from the Internet, install them on your computer and you will see that you can also use them in Photoshop. How do you say? Are you afraid of not being able to do such an operation? Then let me give you a hand!
In the guide you are reading, in fact, you will find explained precisely how to add fonts to Photoshop. The operation you are called to perform is not complicated at all, as long as you know how to "move". Whether you are working from a Windows PC or a Mac, it doesn't matter: the procedure you have to follow is not complicated at all, whether you use Microsoft's or Apple's operating systems.
So, are you ready to get started? Yup? Great! Make yourself comfortable, take all the time you need to concentrate on reading the next lines and, above all, implement the "tips" that I will give you. I am convinced that, thanks to my indications, you will not have the slightest problem in completing your "business" today. I wish you happy reading and I wish you a big good luck for everything!
Index
- Download the fonts from the Internet
- Adding fonts to Photoshop on Windows
- Add fonts to Photoshop on Mac
Download the fonts from the Internet
Before you see how to add fonts to Photoshop, you need to download some new fonts to your computer. You can do this by contacting one of the many websites that allow you to download font packs. One of them is Google Fonts, the Google portal that allows you to download hundreds of fonts for free on your computer: one more beautiful than the other.
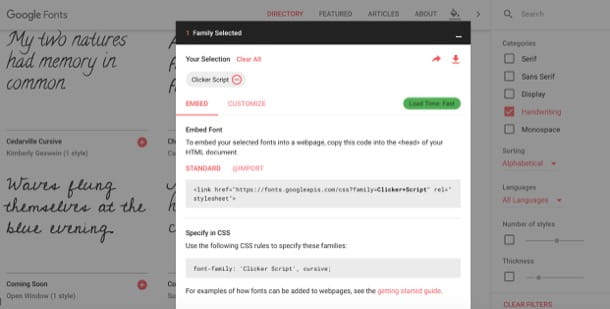
To download new font packs from Google Fonts, connect to the home page of the service and then use the sidebar on the right to filter the various types of fonts among those available. Then put the check mark on the boxes under the wording Categories: Serif, to display the characters with thanks; sans serif to view those without thanks; Display, to view display type fonts; Handwriting, to display those with the freehand writing style e Monospace, to display those with a fixed width.
Once you have identified a font that may be right for you, press the button capacitor positive (+) lead placed at the top right, presses on black box appeared at the bottom of the page, hover the cursor over arrow facing down located at the top right and then presses the button Download that appears.
After doing this, the font will be downloaded to your computer and you can install it in Photoshop by following the instructions in the chapters dedicated to the procedure to follow on a Windows PC and Mac. In case you want to know other sites to download fonts from the Internet, take a look at the in-depth study that I just linked to you.
I recommend, if you are downloading some fonts to use in professional projects, make sure that the fonts you download are freely usable for commercial purposes and are not free for personal use only.
Adding fonts to Photoshop on Windows
After locating the font you want to add to Photoshop, you can finally proceed to import it into the famous photo editing program. To do this, you must first close Photoshop (if it is open), by pressing on (X) placed in the upper right corner. After that you have to follow the instructions below to install the previously downloaded font.
First, open the archive .zip which contains the font you have decided to download and extract the files in . Ttf present in it. If the font you downloaded is not inside a compressed archive but inside a normal folder, obviously you don't have to do the operation just described, but simply open the folder in question by double clicking on it.
Now, right click on the.ttf files icon in the folder and select the item Size from the context menu. Then open theFile Explorer / Windows Explorer Windows by pressing the icon gialla poster placed on the taskbar, click on the item computer/What PC present in the left part of the window and double-click on the item Local disk.
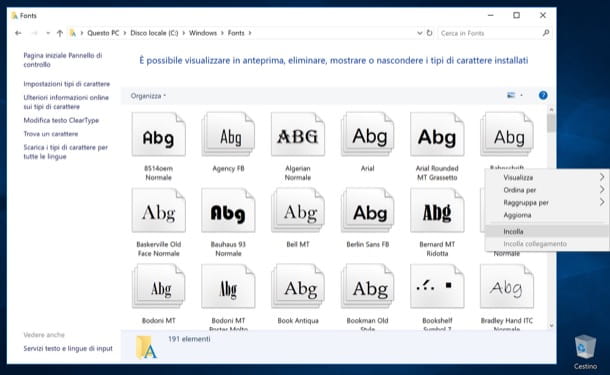
Now, go to the folder Windows, open the folder Fonts by double clicking on it, right click on an "empty" point of it and select the item Paste from the menu that opens to install the font you previously downloaded.
If the font is not ready to use, restart your PC to fix the problems you encountered. And if some steps are not clear to you and you want some more information on how to install fonts on Windows, consult the in-depth study I have published on this subject.
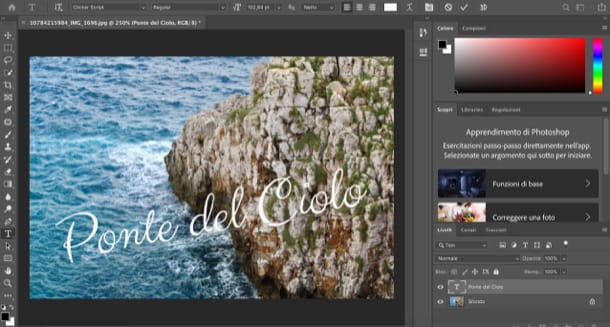
Now that you have completed the font installation procedure on your PC, you can finally start Photoshop and use the new font you installed on your PC to create your projects. To do this, he calls him Horizontal Text tool from the toolbar on the left, click on the point in the image where you want to insert the custom text and replace the text you want to show to the example text.
Then select the text you entered, open the drop-down menu which shows the font name in use and, in the menu that opens, click on custom font name that you installed just now. Then also choose the font size and select one of the available options to change its size (eg. 12 pt, 24 pt, 72 pt, Etc.).
If you want, you can also select the colore of the writing, apply thecurvature effect (which I told you about in depth in another guide) or that 3D. To do this, select the text you want to change and then press the buttons corresponding to the change you want to make, which are located at the top right. For more information on how to use Photoshop, take a look at the guide I linked to you.
When you have finished editing your project with the custom lettering, open the menu Fillet Photoshop, select the item Save with Name… from the latter and, after choosing the location in which to save the file and the name to assign it, presses on Save. For more information on how to use Photoshop, take a look at the guide I linked to you.
Add fonts to Photoshop on Mac
If you are acting from a Mac, to be able to add a font to Photoshop you have to follow more or less the same instructions that I gave you in the chapter dedicated to Windows. Therefore, close the photo editing program (if it is open) by pressing the buttons at the same time cmd + q on the keyboard and then carefully follow the instructions below.
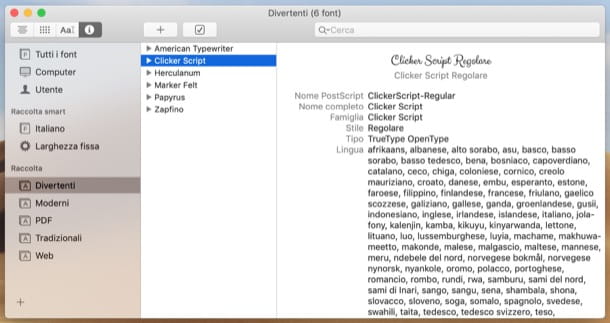
To proceed with the installation of the previously downloaded font, you must start the application Book Font located in the folder Other of Launchpad or, if you prefer, directly from the folder Applications of macOS. Once the application window is displayed, press the button capacitor positive (+) lead located at the top left, select the font in . Ttf that you intend to add to Photoshop or the folder where the fonts you downloaded from the Internet are saved and then presses the button apri.
If the font is not ready to use, restart your Mac to fix the problem you encountered. If any of the steps are not clear to you and you want more information on how to install fonts on Mac, feel free to consult the in-depth study I just linked to.
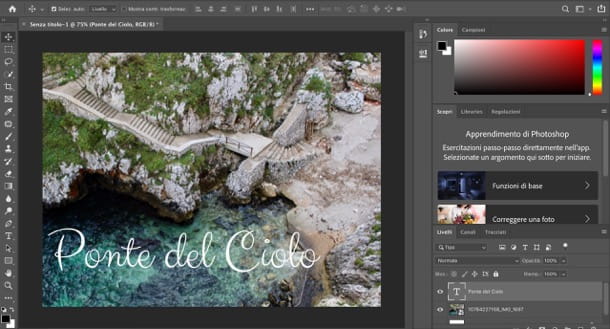
At this point, all you have to do is open Photoshop, call it back Horizontal Text tool from the toolbar on the left, click on the point in the image or drawing where you want to insert the custom writing and replace the word or phrase you want to show to the sample text.
Then select the text you entered, open the drop-down menu on which the font name in use and, in the menu that opens, select the custom font name that you installed just now. Then choose the size of the chosen font and select one of the available sizes (eg. 20 pt, 24 pt, etc.).
To choose the colore of the writing, apply thecurvature effect (which I told you about in depth in another post) or that 3DInstead, you have to select the portion of text you want to change and then press the buttons corresponding to the change you want to make, which are located at the top right.
When the job is complete, open the menu Fillet Photoshop, select the item Save with name… from the latter and, in the window that opens, select the folder in which to save the modified image, assign it a name by typing it in the field File name e pigia his Save. For more information on how to use Photoshop, take a look at the guide I linked to you.